
Remember seeing these on my personal blog? Well to make Avery feel at home, I decided to hang them up in our new townhouse this weekend.
But, I decided it was time to act like a grownup, and instead of randomly nailing the pictures up, then taking them down, adjusting the nails, putting them back up, taking them back down, adjusting the nails, putting them back up (you get the idea) I actually used tools to help me out. Now, this is not a new concept, as it's how most normal, more patient people hang pictures, but here's what I did.
First, I took some old paper that the movers had wrapped dishes in, grabbed a painting, and traced the shape of the painting onto the paper. I did this 5 times, since I had 5 paintings.
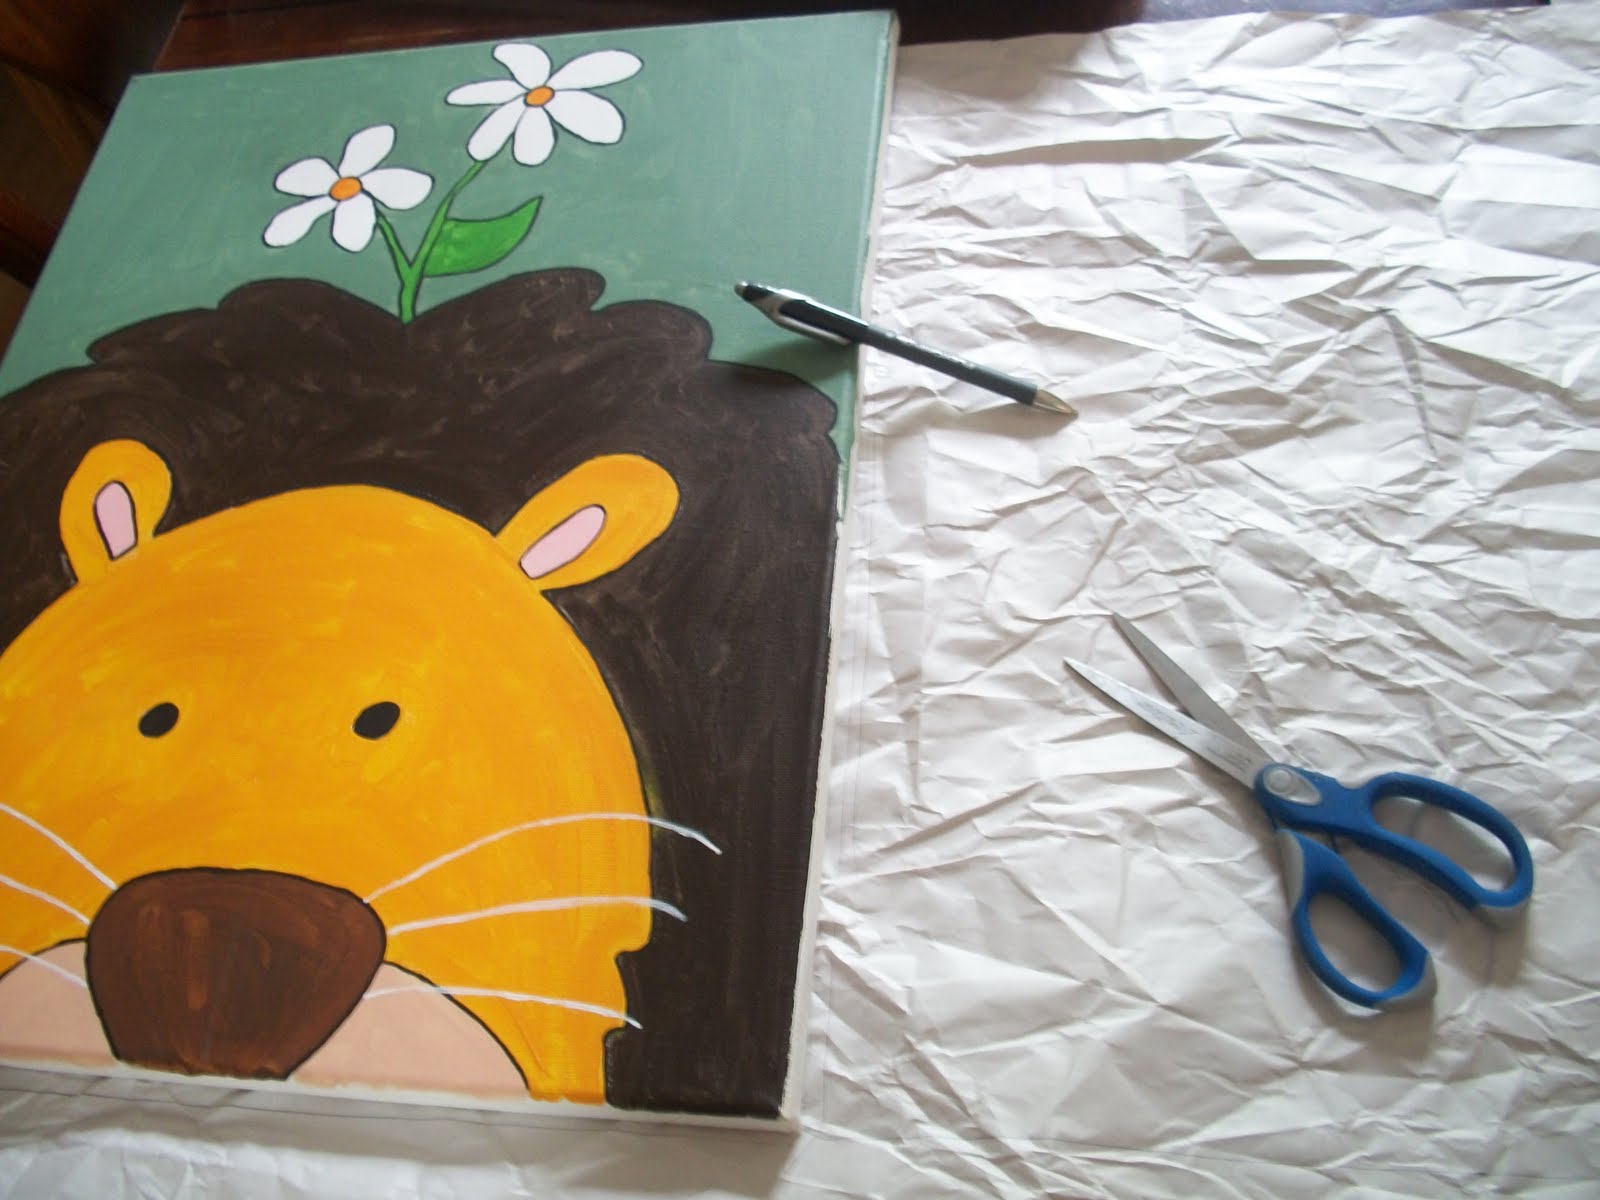 |
| Cutting my pattern |
Next, I took some tape and my pieces of paper up to the nursery and hung them up on the wall, making my adjustments as necessary.
 |
| This would be the most boring nursery ever is these stayed up |
Then, I measure the back of the painting so I would know where a nail would actually hit, marked that on a piece of paper and then used that paper to measure where a nail should be put into the wall on the paper that was hanging up.
Then, I nailed in two nails in each piece of paper. Sure, each painting can be balanced with one nail, but two is perfect for two reasons: 1) you can use a level to make the two nails completely even and 2) especially when you are hanging paintings in a pattern, with TWO nails, you can slide the paintings left and right (assuming there isn't a specific hole the nail has to go in on the back of the paintings) to adjust for distances between paintings. I usually nailed in one nail, and then used a level to mark where the next nail should go. The level has holes in it for that purpose. I KNOW! GENIUS! Wish I had thought of it first.
 |
| Levels with holes in them. Mind. Blown. |
The paper comes off, the nails stay in, the painting goes up. Of course, it's me, so there's nothing that's PERFECT, but minor adjustments were easy (tilting nails and one the rare occasion, taking one out and adjusting) and then sliding the paintings left and right to make them an even distance from each other.
 |
| Eek. Not quite perfect. |
 |
| I promise the paintings are straight on the wall. I'm standing all crooked. |
What fun wall projects have you tried recently?
Those paintings are so cute!
ReplyDeleteThanks! They were actually fairly easy and rather therapeutic to do. Note that I painted over all of my pencil/eraser/messup marks for the most part :-)
ReplyDelete